Categories may represent roles/positions for employees within the company. Read how categories are used in the system here. Categories are established at the company level and, once added by the global admin, are accessible to all system users in a read-only format.
Accessing Categories:
Click on “Categories” in the menu. This will lead you to a page displaying a list of categories.
All users, regardless of their roles, can access and view category details by double-clicking on them.
Once employees are added to the system, the number of employees in each category will appear the list of categories.

Assigning Employees to Categories in Bulk:
All users regardless their roles can assign employees to categories in bulk. Select a category in the list and click on the “Assign Employees” button. A pop-up form with a list of already assigned and available for assignment employees will appear. Add/Remove the employees and click on “Save.”

Managing Categories
Only Global admin has the authority to manage categories.
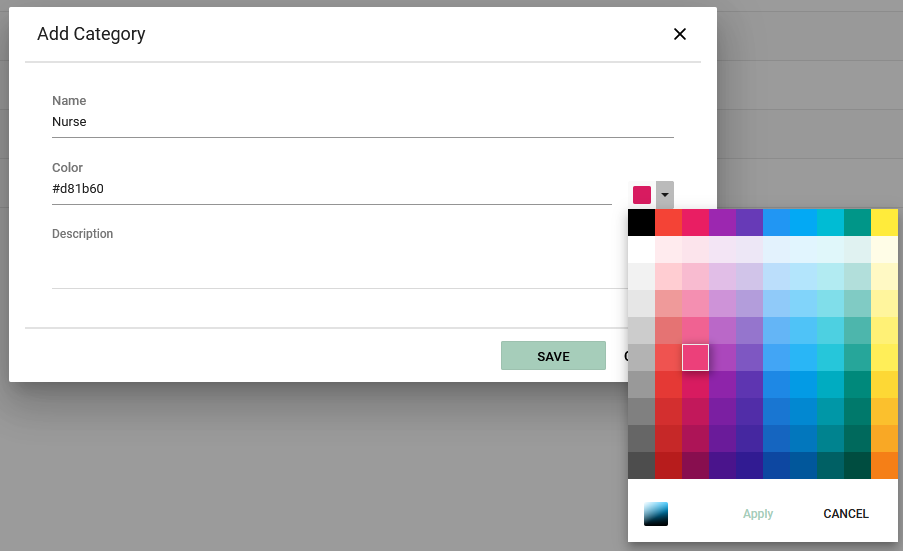
Adding a Category:
To add a category, click on the “Add” button. A form will appear, where you can provide the following details:
- Category Name
- Color (for differentiation)
- Description (optional)
The newly added category will be listed.
Editing Categories:
Double-click on a category in the list to view or edit its details, or use the “Edit” button.
Deleting Categories:
To delete a selected category, click on “Delete.” Note that deletion is only possible if the category is not in use within the system.


