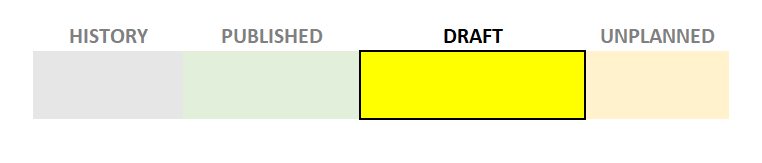
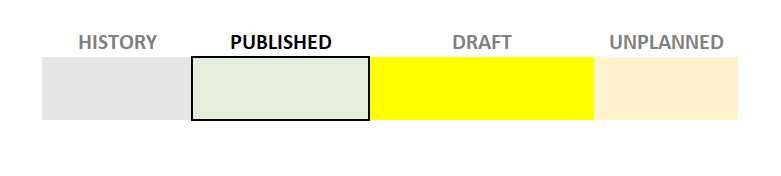
The scheduling window is divided into the following areas: History, Published, Draft, and Unplanned, all within a weekly view.
The scheduling window timeline:

- History: This area displays past time periods that are unchangeable. You can review past shifts, if any exist.
- Published: Upcoming time periods that have been published and distributed to employees, while still allowing modifications to these shifts.
- Draft: This area encompasses upcoming time periods following the published ones. In this area you can freely make changes. Schedule publishing is implemented on a weekly basis, with the first week of the draft, referred to as the ‘final draft,’ to be published next.
Functionality by Timeline Position
In the upper right corner of the screen, you will find buttons. The available buttons and actions you can perform depend on whether you are in the draft area or the published area.
Draft Area
- Create a Shift – To manually create a new shift.
- Provision – To automatically generate shifts from rotations.
- Schedule – To initiate automatic scheduling.
- Publish – To finalize a schedule for the first unpublished week (final draft) and distribute it to employees.
- Three dots > Export to Excel – To export schedules to Excel files.

Published Area
In the Published area, you will find the same buttons, but the “Schedule” button is replaced with “Reschedule,” and “Publish” is replaced with “Publish Staffing Changes.”
- Reschedule – Use this button to apply auto-scheduling with minimal adjustments to the schedule.
- Publish Staffing Changes – Utilize this button to distribute changes to the involved employees.


