When you click on “Scheduling” in the menu, the corresponding page opens, providing tools for designing schedules and creating rosters.
Spot(s) Selection
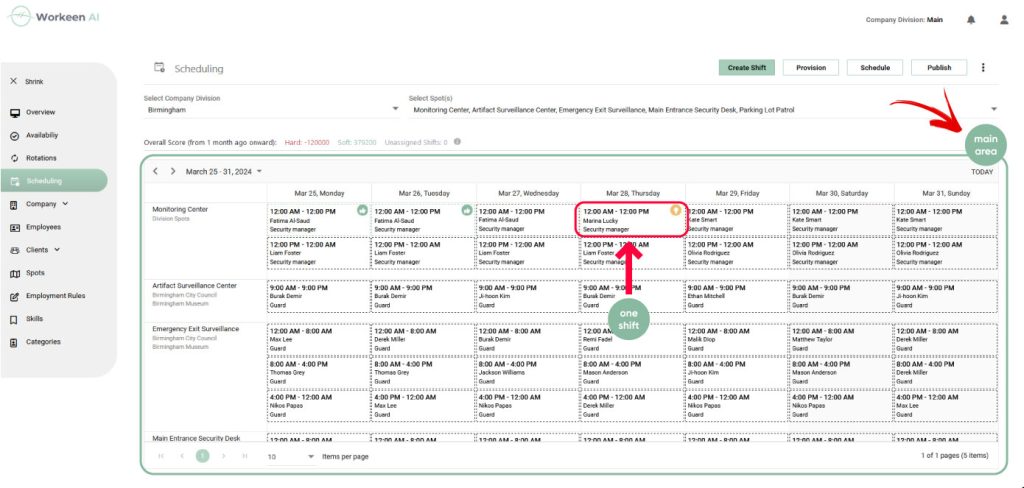
The scheduling interface offers a weekly view and organizes scheduling by spots. To select the spot(s) you wish to view or work on, utilize the dropdown menus at the top of the page.
Begin by choosing the company division (if you have access to more than one), and then specify particular spots or opt for all spots within the division. By default, all spots in the first company division are preselected.
Week Selection
To choose a specific week, utilize the calendar located at the top of the scheduling window. The current week is initially selected.

Schedule Status Panel
You can find this panel positioned below the Company division/Spot select boxes.
For the schedules you create, the system provides an Overall schedule score for the division. This score offers insight into the feasibility of the schedule, highlighting any issues, conflicts, or unassigned shifts. The score is categorized by constraint level (Hard/Soft/Unassigned shifts).
Clicking on the “i” icon reveals detailed information about conflicts (for more details about the score, refer to the Employees Assignment section).
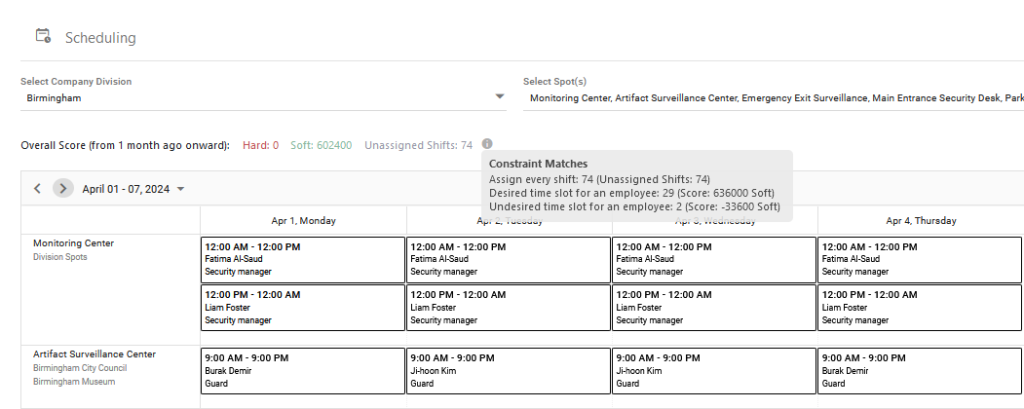
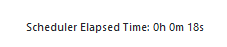
In this area, you can also see a Timer, which is visible only when auto-scheduling is running.
Scheduling Window
This is the area where you design the schedule. It consists of a grid with days of the week, and spots, and shifts are represented as small blocks ordered by spot and shift time.
Explore further details about the Scheduling window, including sections such as History, Published, Draft, and the corresponding actions applicable to each area.


